LC60677 – Part 3: Conclusion
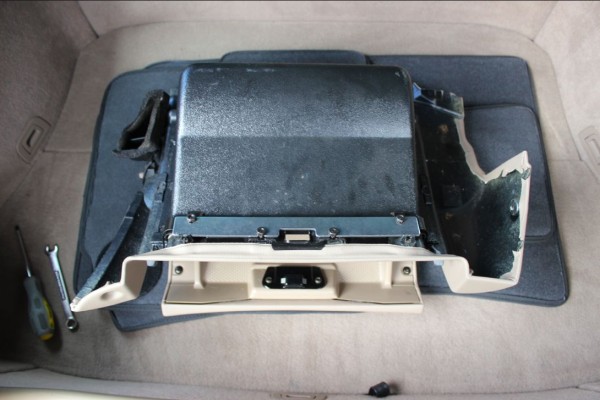
Before going into the beautification process of our 2nd project coupe, I’d like to bring some closure to the unfinished items from the previous Mechanicals article. The glove box sag fix kit installation was my first, and I can say it was a pretty cool little project. It’s always helpful to have step by step instructions, and the online instructions provided with the purchase of this sag fix kit were perfect.
If you haven’t done this on your coupe, there were really only two items that proved more difficult than expected: removing the plastic screw caps without completely destroying them and screwing the reinforcement bar into final position. The plastic screw caps are deceptively difficult to pop out of their recessed holes, and it took me a while to find the right tool for the job. I settled on a flat head jewelry-sized screw driver, which was thin enough to wedge between the cap and the dash, pry out the edge, and pop off the cap. My first attempt resulted in a sliced cap, but the damage was minimized with additional practice, and it turned out fine in the end.
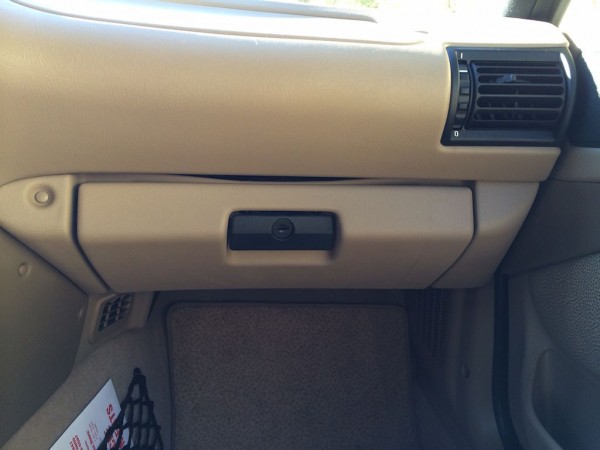
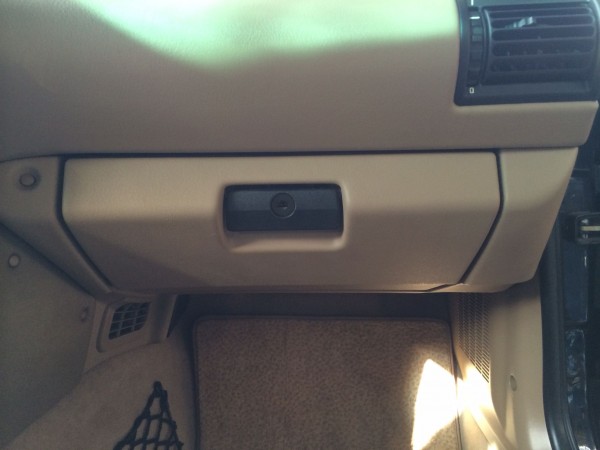
Once the glove box is fully removed, the reinforcement plate is mated to the OEM metal frame with some beefier bolts, and this is where I had some short-lived frustration. Once I fed the bolts through the holes and lined up the plate, there wasn’t more than 1 or 2 threads visible to tighten the nut on. I thought maybe I had misaligned the plate, but after removing the plate and taking a closer look at the OEM metal frame, it was curved after over a decade of sagging. Manually straightening the frame was simple, given how thin it is, and it allowed the reinforcement plate to mate more closely. Once the nuts were tightened, I slid the reassembled glove box back into place, secured the screws and…voila…no more sag! All in all about an hour’s worth of time and $37 out of pocket. Not bad.
With the glove box reinforced, all I had left was to pop off the original shift knob and replace it with a brand new ZHP knob ordered from LeatherZ. I successfully avoided hitting myself in the face by sitting in the driver seat and using my right arm to apply constant upward force to the knob. It took some effort, but eventually slid right off without much fanfare. The new knob is the non-lit variety, so I simply slid it back on the shifter, pushed straight down and it popped into place. Ta-da! A whole new feeling to the interior.
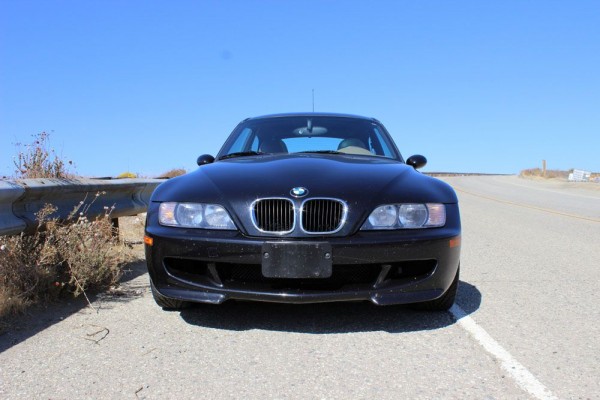
With the issues now properly sorted, it’s time to bring this car to it’s original beauty. Cosmos black is a gorgeous color, but with any black-painted car, it looks beautiful without any imperfections, but the slightest rock chip or swirl mark shows up very easily.
Overall, the paint was in very good condition across the whole coupe. It was obviously garaged most of it’s life, given how smooth the paint was to the touch and how bright the M emblem colors were. That said, it’s a 14 year old vehicle and had it’s share of knicks.
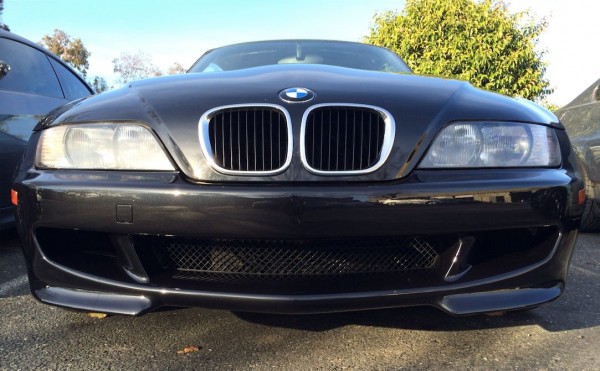
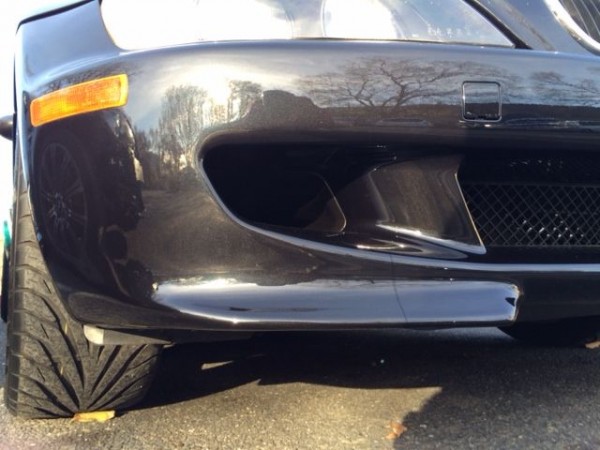
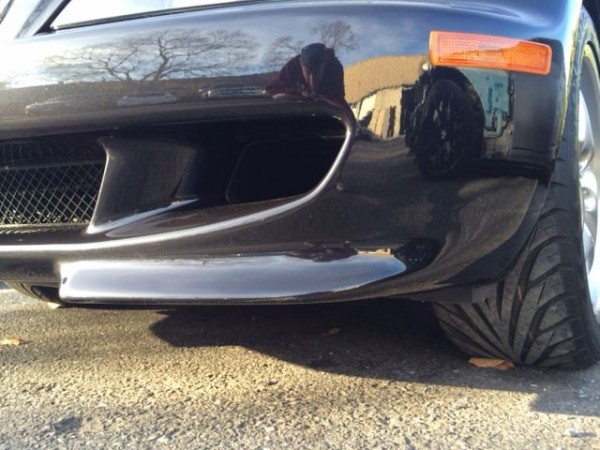
The front bumper had a smattering of rock chips and the underside of the splitters was slightly scraped. Rock chips appear as little white spots on black paint, so they stand out easily. I also discovered that there must have been a light front end collision with the primary impact occurring at the license plate holder. Once I removed the license plate holder, there was a 3-inch diameter impact scrape. A front bumper re-spray seemed the best fix.
I asked around and RJ’s Paint Shop in Pleasanton was the consensus recommendation. They’re a small shop that handles mostly high end exotics, so I had a great time visiting the shop and peeking at the Porsche 911 GT3 they were working on. I wouldn’t have it any other way for my own coupe, and after RJ suggested plugging the license plate holes (which I was already considering) we finalized the deal. He also suggested shaving the corner lights, but since it wasn’t going to be my coupe forever, I opted to keep it stock. I’m intrigued by that shaved corner look, so I might explore that on my own Alpine White coupe when I have the front bumper resprayed in a few months.
The results speak for themselves.
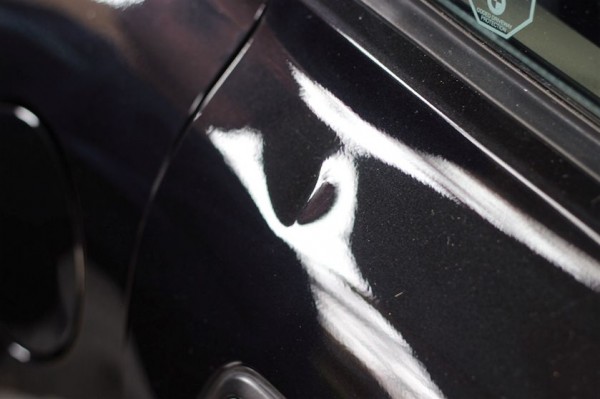
With the big ticket item taken care of, I turned my attention to a quarter sized dent on the passenger side door and a few pin-head sized dings in the passenger rear quarter panel. For those of us obsessed with our coupes (who, me?) there’s nothing quite as annoying as a door ding. They ruin the smooth reflections on the paint like a slight ripple on a calm pond, and I’m quick to call my local painless dent repair (PDR) guy, Chris at Diablo Dents.
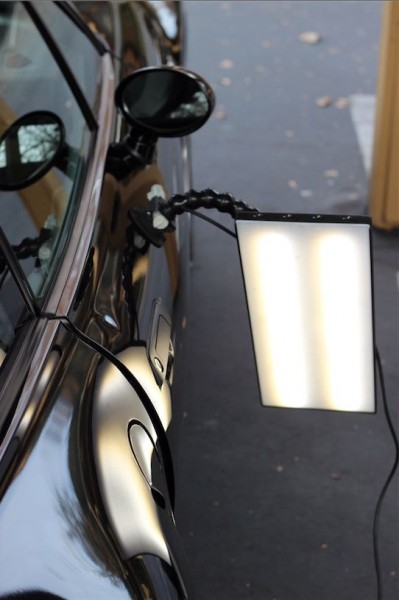
For those that might not be aware (I wasn’t until about a year ago), PDR experts utilize a series of long metal rods inserted behind a car’s body panels to push dents out from behind. The rods are flat enough to fit between the window and weather stripped to slide down into the door panel, and the end of the rod has a 3-4 inch section that is bent 45 degrees like a small golf putter. Once he finds an ‘in’ to the damaged panel, he uses a large light panel suction cupped to the door to cast shadows on the panel so he can determine when it’s smoothed out.
What amazes me is how fast he knocked these things out. Just a couple hours and $200 later, the door dent and 3 small rear quarter panel dings were smoothed out with any paint scrapes polished clean. Awesome!
Now that the exterior was looking quite flawless, all that was left was an interior cleaning with some Meguiar’s Quick Interior Detailer on the plastic surfaces, Meguiar’s Leather Care on the seats/steering wheel, and some glass cleaner on the windshield/windows.
It didn’t take long before we heard from an interested buyer looking for a low mileage black M Coupe. He flew up from SoCal, got the car checked out at Performance Technic, was amazed at how clean it was, and drove it home as his first M Coupe! Awesome.
Uniting coupes with new deserving owners has become quite a fun and rewarding hobby. Stay tuned for an introduction to our next project coupe: a supercharged (370 hp!) S52 with some high dollar modifications and a lot of work needed in the rear hatch compartment. Fun!

